
Selecting the right sealant for bathrooms and kitchens is crucial to ensure durability and hygiene. If you want to learn how to choose the ideal product for your bathroom or kitchen, we invite you to read this article.
How to Choose the Right Sealant for Bathrooms and Kitchens?
Selecting the proper sealant for bathrooms and kitchens will ensure the durability of your spaces and prevent common issues that can arise. These areas are prone to moisture; therefore, it is recommended to use a high-quality product.
However, there are a wide variety of options, which can make your choice a challenge. Below, we provide some tips to help you select the best product for your needs.
1. Types of sealants
There are several types of sealants, depending on the material from which they are made. Each one performs specific functions. The main ones are:
- Silicone. This is the most widely used. It offers excellent water resistance, is flexible, and is durable. It is perfect for joints and areas exposed to constant moisture.
- Acrylic. It is cheaper than silicone and easier to use, but it is less water-resistant. It is recommended for areas with little exposure to moisture.
- Polyurethane is robust and durable. It is suitable for surfaces that require high adhesion and chemical resistance, but it is more difficult to apply.
Finally, there is MS Polymer, which stands out for combining its high flexibility with exceptional strength. It does not emit strong odors during application and adheres to multiple materials, even on slightly damp surfaces.
2. Resistance to moisture and mold
Choose a sealant that contains fungicides or antimicrobial properties. This is especially important in areas where moisture levels are consistently high.
3. Compatibility with other materials
Ensure the sealing material is compatible with the surfaces on which it will be used. Some are formulated for specific materials, ensuring better adhesion and durability.
4. Flexibility
Bathrooms and kitchens generally experience minimal movement due to temperature changes. The sealing must withstand these variations without cracking or peeling.
5. Drying and curing time
Consider how long it takes for the sealant to dry and cure completely. Some allow for quick drying (perfect if you need to use the area soon); others require more time to reach full strength.
6. Color and finish
Select a sealant that complements the aesthetic of the space where it’ll be used. They are available in a variety of colors and finishes, including clear, white, gray, and black. This way, the sealant can be discreet or even decorative, depending on your preference.
7. Easy application
If this is your first time using this type of product, we recommend using sealants that are easy to apply. Some come with special applicators or in cartridge format, which makes the job easier.
How can you apply it correctly?
Choosing the proper sealant isn’t enough to guarantee a long-lasting and practical finish. Knowing how to apply it is also essential. In the following lines, we explain how to do it correctly:
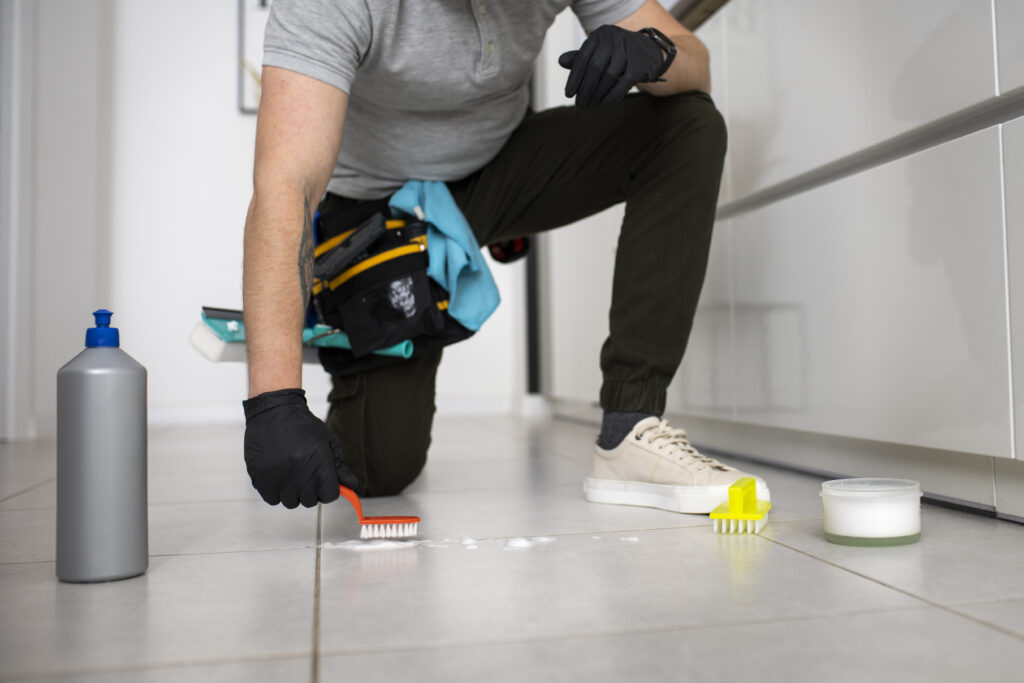
- Prepare the surface. Remove all old material from the surface where you will be applying the new material. Clean the area thoroughly with alcohol to remove any residue, and then allow it to dry completely before proceeding.
- Delineate the area. Place masking tape on both sides of the joint to achieve clean edges and prevent staining.
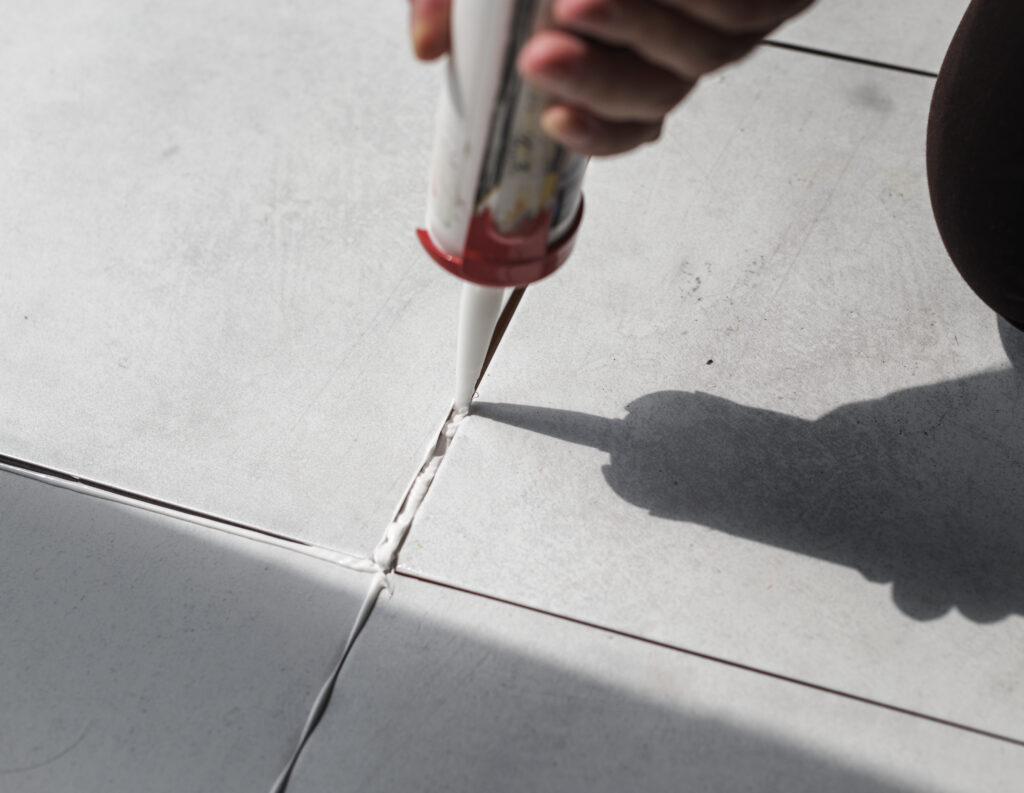
- Prepare the sealant. Cut the tube’s nozzle at a 45-degree angle. The cut size should be appropriate for the width of the sealed joint.
- Apply it directly from the tube, at a 45-degree angle. Press steadily for an even application. Slide the tube along the joint without pausing to avoid interruptions.
- Smooth it with a putty knife immediately after applying it. This will help the sealant adhere well and be less visible.
Remove the masking tape before the product dries to prevent lifting and achieve sharp edges. Finally, wipe and dry any excess sealant with a damp cloth before it hardens…
Additional tips
When remodeling your kitchen and bathroom, a good seal will prevent water leaks and deterioration. Here are some additional tips:
- Do not apply the siding over wet surfaces.
- Use a backer bead on wide joints.
To finish, test the application. Each sealant and surface reacts differently. By pre-testing, you can adjust the pressure to achieve an even bead.
Ensure the quality of your facilities
Selecting and applying the right product is essential to protecting your spaces and maintaining a clean environment. Try the tips we’ve provided and enjoy a spotless space.
If you have any questions, American T&J Projects LLC can help. Contact us and enjoy reliable, efficient, and guaranteed service.